
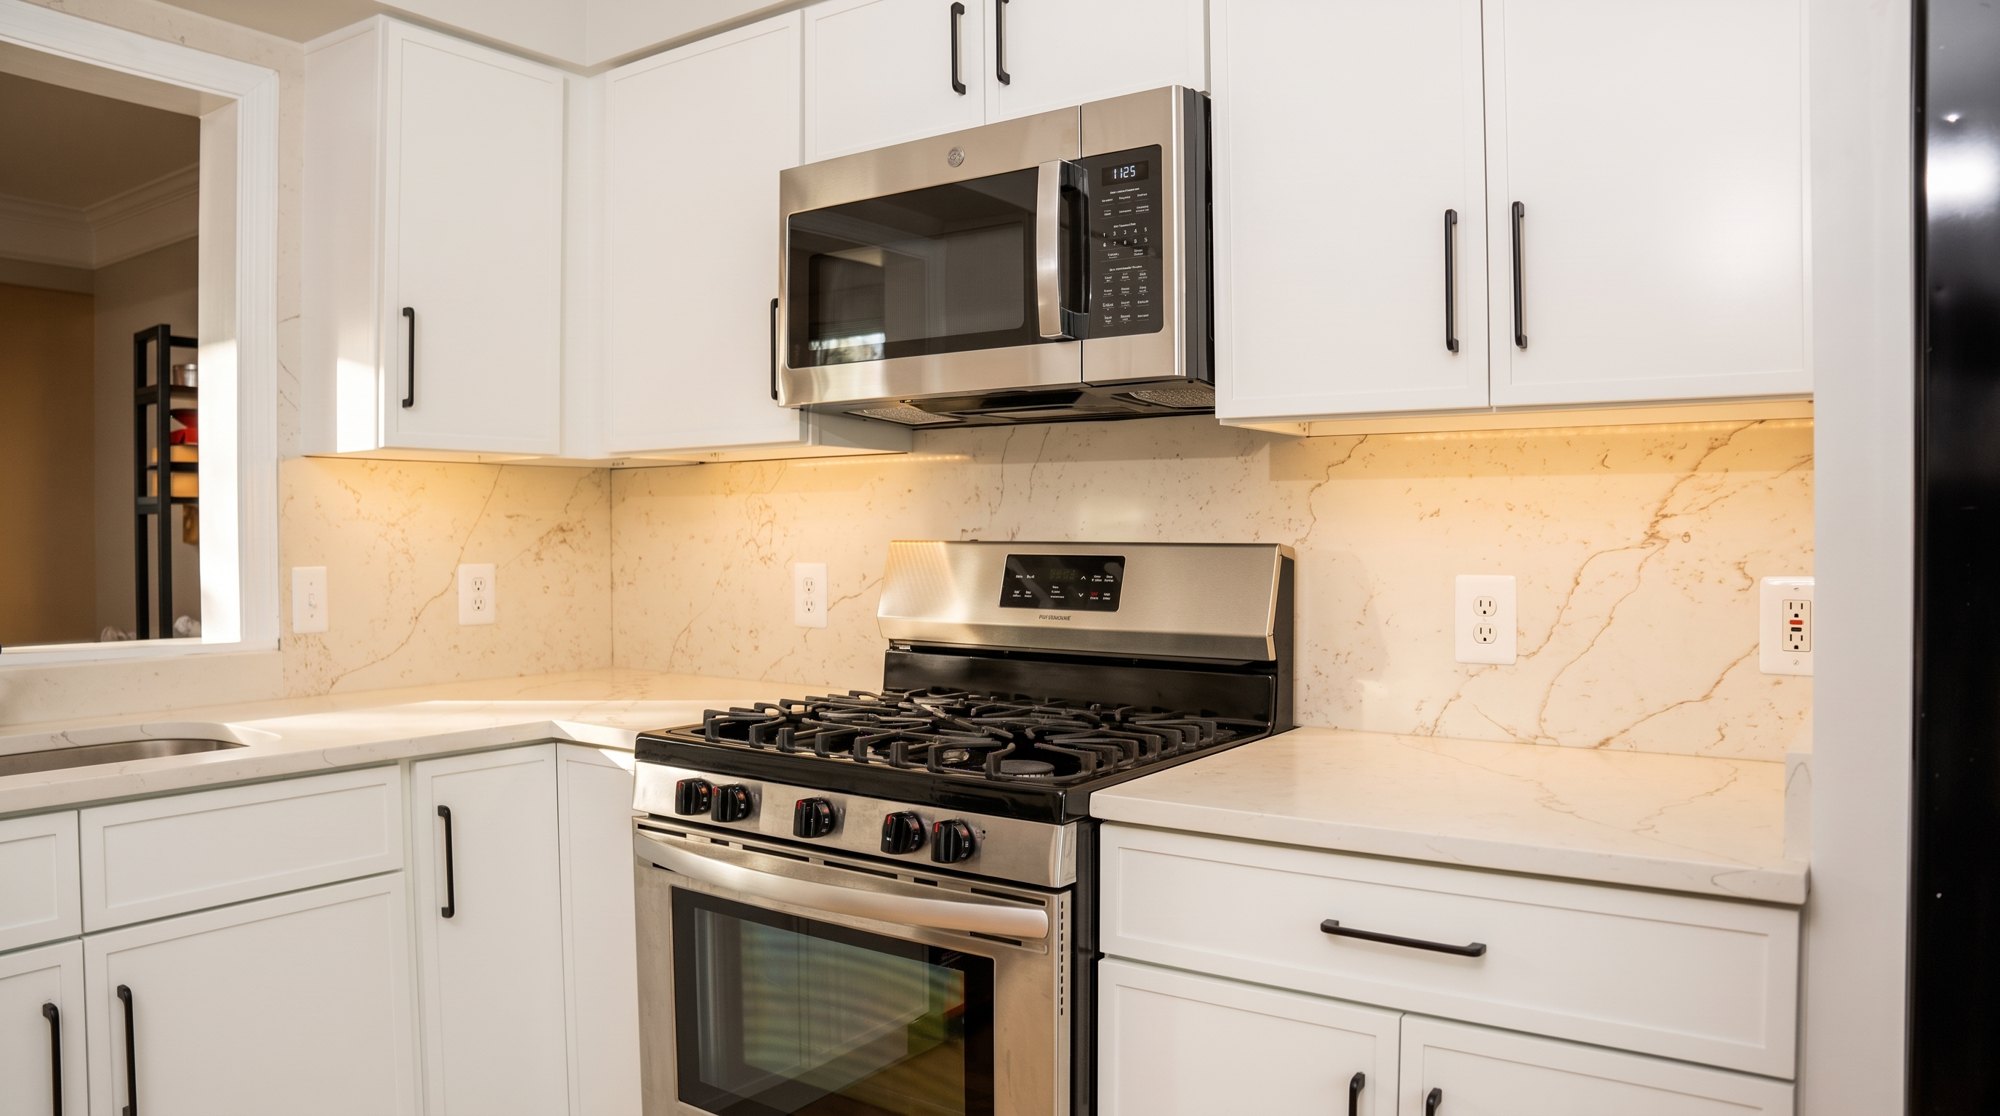
The kitchen is done. White shaker cabinets, a new range, under-cabinet lights glowing on the backsplash. You want a before and after remodel video for Instagram. Then you scroll back through your phone and the only "before" is a blurry shot of a dumpster in the driveway.
That happens on most jobs. The after is easy, because everyone is proud of it. The before is the shot you only get one chance at. Here's what to film at each stage so the final video actually lands.
Why the "before" decides the whole video
A before and after video works because of the comparison. Your viewer's brain does the work: same room, same angle, completely different space. If the two shots don't line up, the effect is gone and it just looks like two random clips.
So the before isn't an afterthought. It's half the video. Treat the walkthrough day like a shoot day.
Stage 1: Before demo (the shots you can't redo)
Film this on the day you measure or the day before demo, while the old kitchen is still intact and still lived in.
- The wide from the doorway. Stand where a guest would first see the kitchen. This is the frame you'll match at the end.
- The same wide from the opposite corner. Two angles give you a choice later.
- The problem shots. The cracked laminate, the cabinet door that won't close, the dark corner with one ceiling light. These are what the homeowner was living with. They make the story.
- Ten seconds of the homeowner pointing at what bugs them, if they're up for it. No script. Just "what do you want gone?"
Most people get this wrong in one specific way: they tidy up and shoot the before at its best. Don't stage it to look worse, but don't hide it either. Shoot it as it really is.
Quick checklist: mark your spot
- Put a strip of painter's tape on the floor where you stood for each wide.
- Note the camera height. Chest height on a tripod is easiest to repeat.
- Write down the lens or zoom level (0.5x, 1x on a phone).
- Shoot at roughly the same time of day you'll shoot the after, so the window light is similar.
- Take a photo of your tripod position from behind. It saves arguments later.
Stage 2: During the build (the part that builds trust)
Nobody needs a 40-minute vlog of drywall. But a few short clips during the job do two things: they give you material for "in progress" posts, and they show future clients that your crew does careful work behind the walls.
Film short clips, 5 to 10 seconds each:
- Right after demo. The empty room, same taped spot as the before. This is a great middle frame.
- Rough-in, before drywall. New plumbing and electrical. Remodelers already document this for their own records and for inspections; grab a clean, steady clip while you're at it.
- Cabinet install day. Boxes going in, a level on a countertop, hands on hardware.
- Countertop template or install. Stone coming through the door is always a good clip.
Keep it steady. Lean on a door frame or use a small tripod. Shaky footage is the fastest way to make good work look amateur.
Stage 3: The reveal (shoot it like a listing)
This is where the work pays off, so give it real time. Plan an hour in the finished kitchen before the homeowner moves everything back in.
- Clear the counters. One or two objects max: a cutting board, a plant. No paper towels, no dish soap, no fridge magnets.
- Lights on. Under-cabinet lights and pendants on, every bulb the same color. Mixed warm and cool bulbs look wrong on camera.
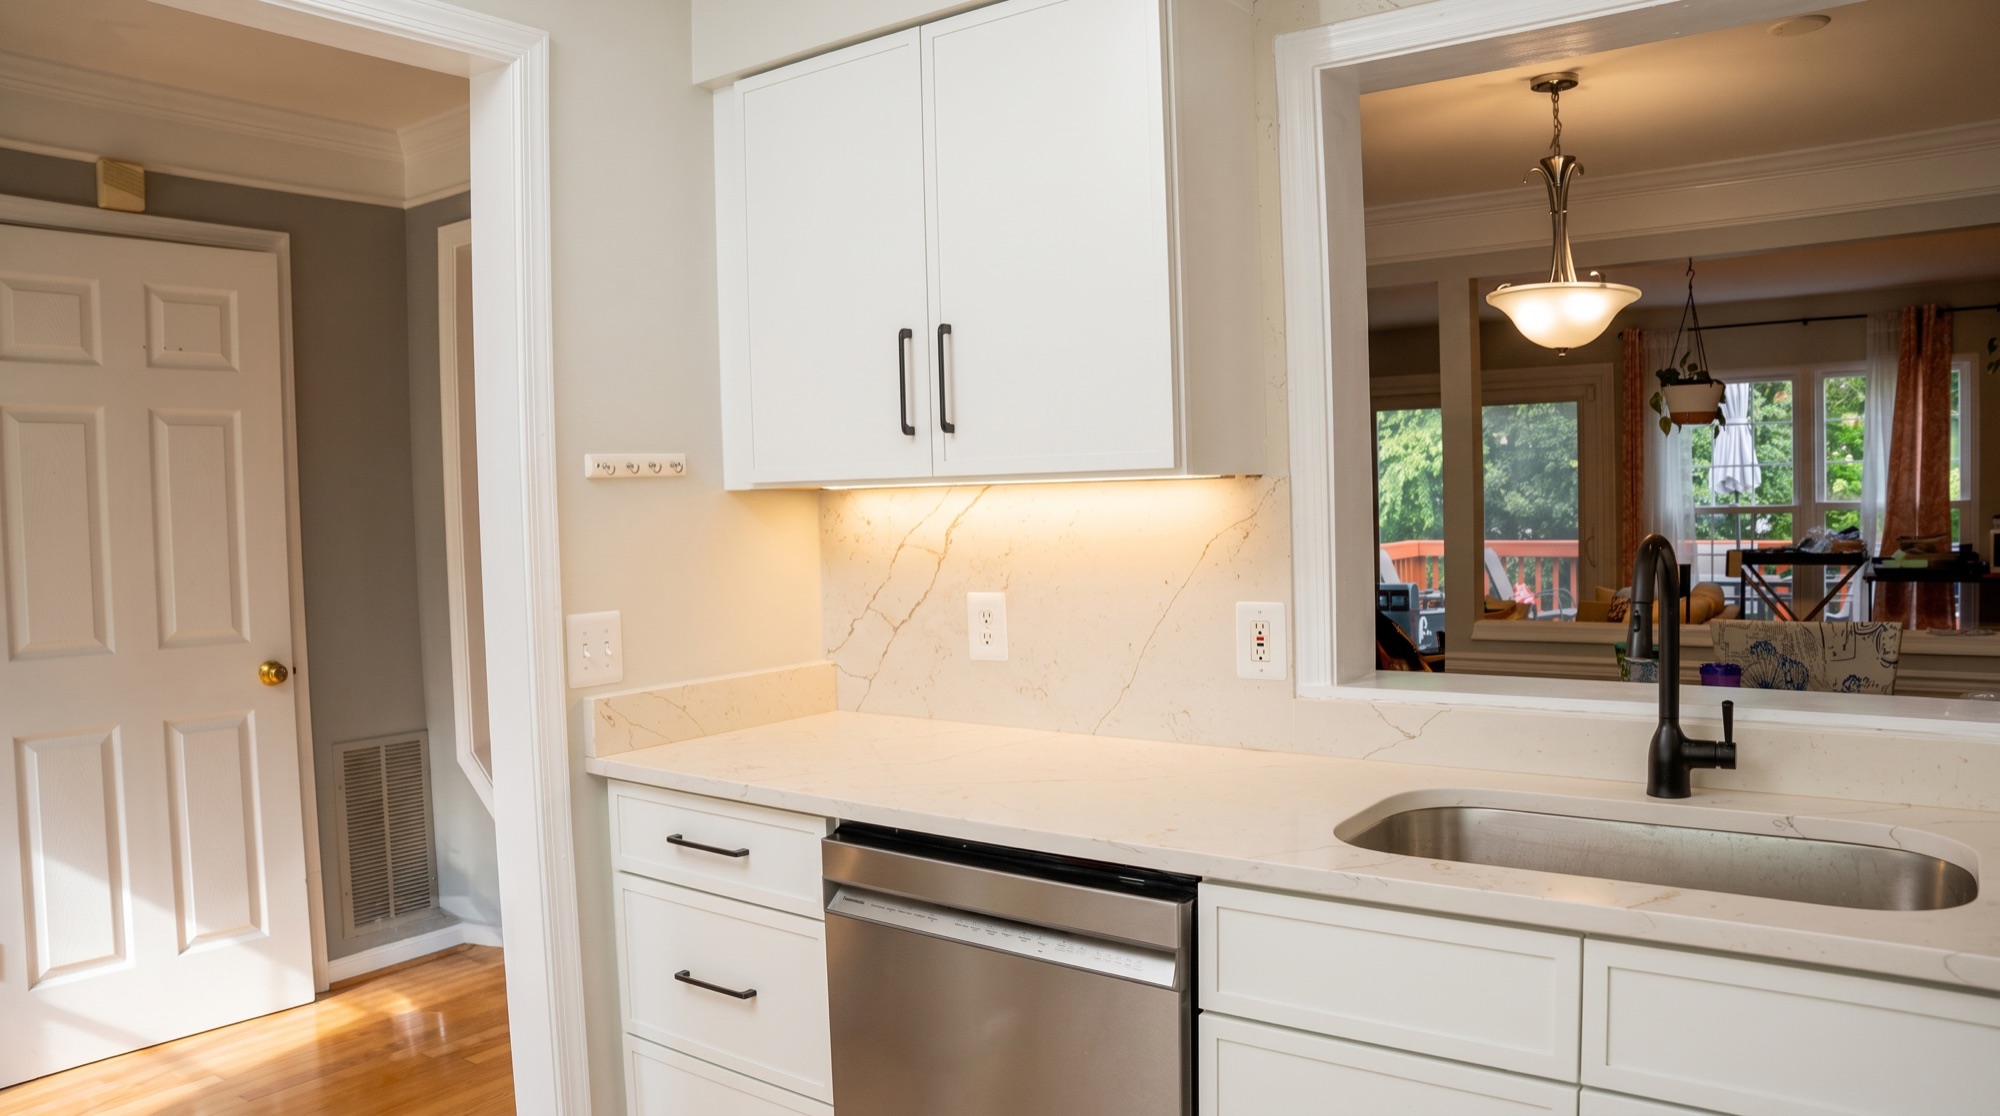
- Match the before. Go back to the tape marks. Same height, same zoom. Shoot the after wide first, before anything else.
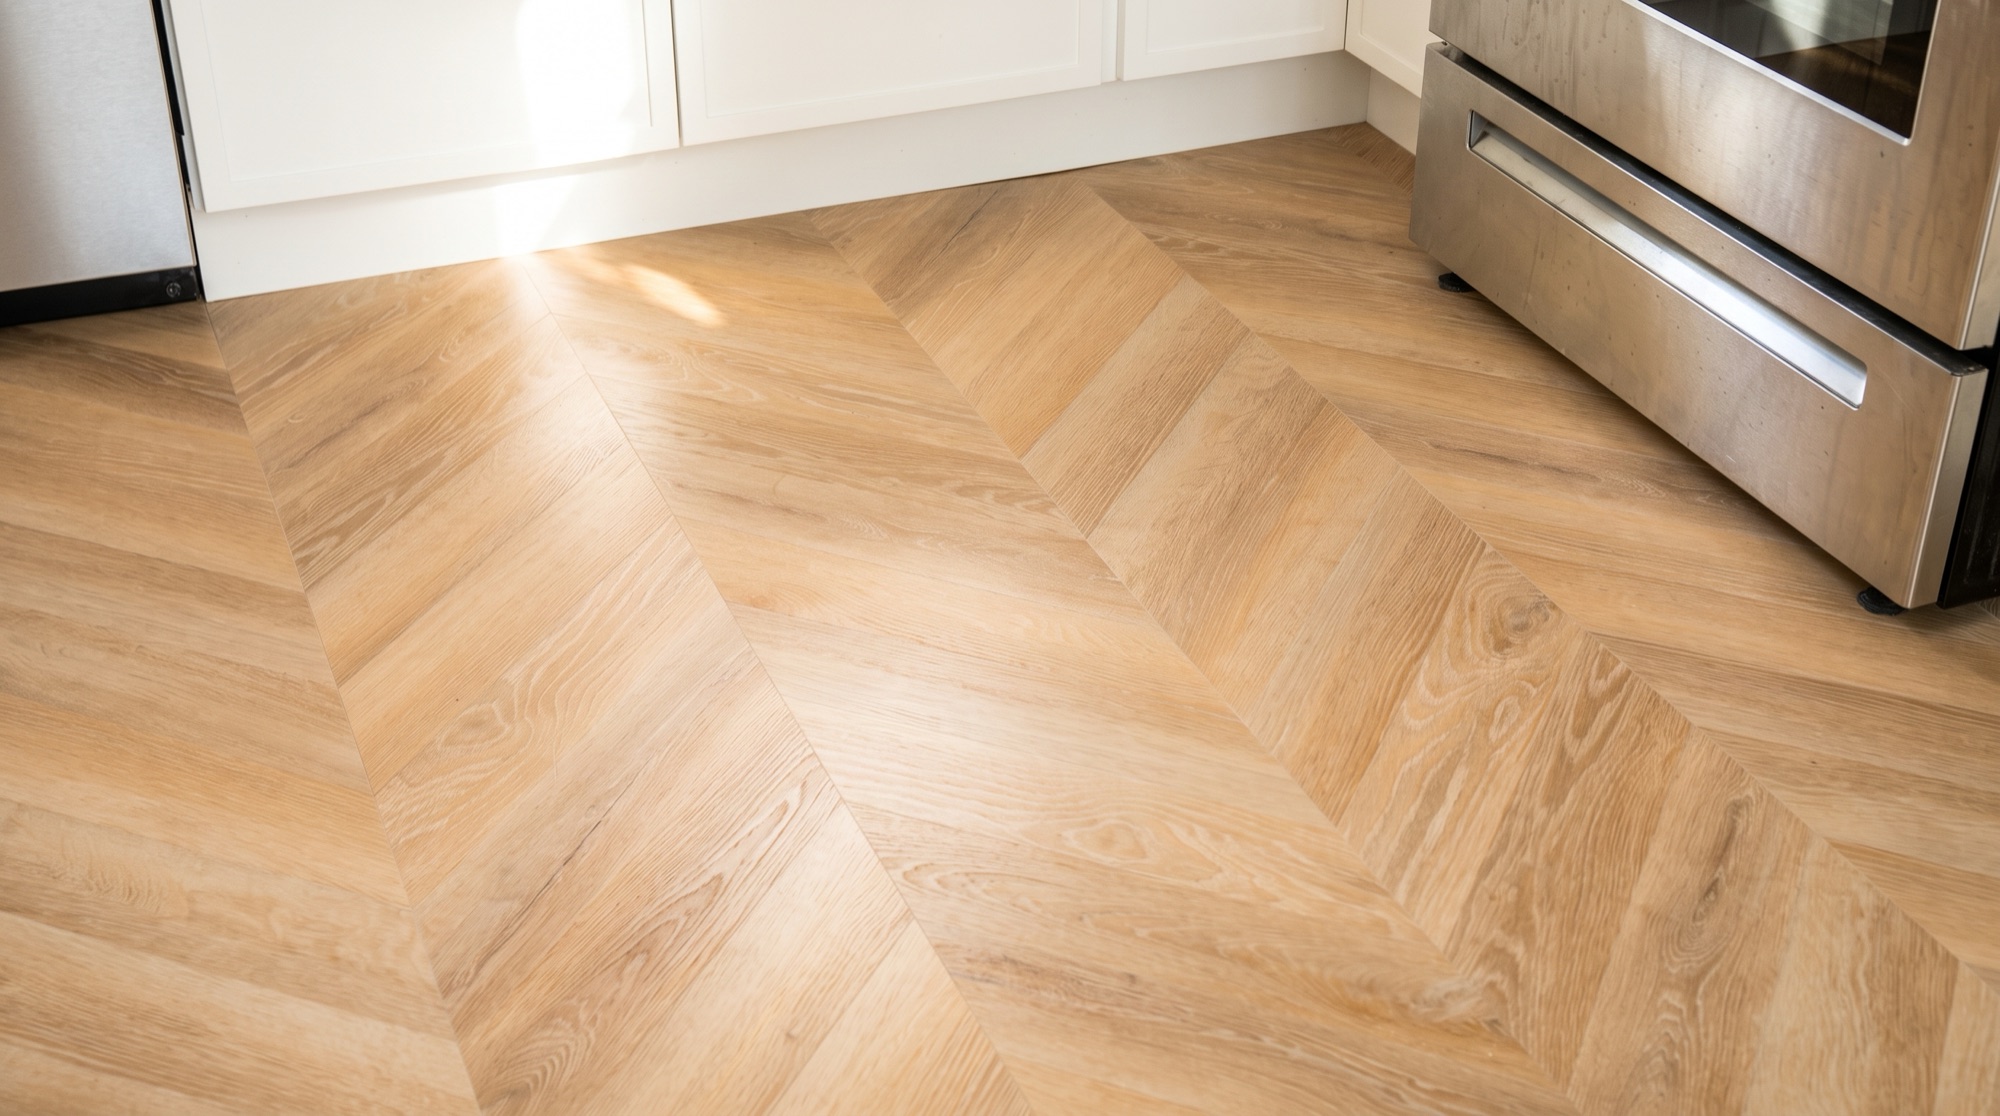
- Then the details. The faucet, the hardware, the grain of the counter, the floor. These close-ups are where people see the quality of the work.
- Slow movement. One slow push toward the island or a slide along the counter is enough. Fast whip pans look cheap.
If the homeowner is happy, ask if they'll say a few words on camera. That's a different shoot with its own rules; we wrote about it in our guide to kitchen remodel testimonial videos.
How to cut it: three versions from one job
One project gives you more than one post. Edit at least three:
- The 7-second flip. Before wide, a hard cut on a beat, after wide. Same frame. This is the reel.
- The 30-second story. Before, two problem shots, demo, rough-in, install, reveal, two details. Each clip 1 to 2 seconds.
- The detail post. A carousel or short clip of only finished close-ups, for designers and other trades who care about the finish.
Two editing mistakes to avoid:
- Don't open on the before. Open on the best after shot for one second, then go back. "Here's where it ended up, here's where it started" holds people longer than making them sit through the old kitchen first.
- Don't push the color on the after. A before that's a little dim next to a heavily brightened after looks fake, and people notice. Edit both the same way.
Ask before you post
The kitchen is in someone's home. Before you publish, get the homeowner's okay in writing, even a text. Leave out house numbers, family photos on the fridge, and anything that shows the street. In Hudson County and Bergen County, where a lot of homes are close together, a window view can give away an address faster than you'd think.
How we do it at Turtle House
We film remodels across New Jersey and New York City. When a remodeler brings us in early, we shoot the before on walkthrough day, mark our spots, and come back for the reveal with lights, a gimbal and a shot list built around that first frame. You get the 7-second flip, the longer story cut and stills for your site, all from the same visit.
If the job is already finished and there's no before, we can still make a strong reveal film. It's just better when we're there from day one.
FAQ
How long should a before and after remodel video be? For Instagram and TikTok, the flip version works best at 7 to 15 seconds. A full project story can run 30 to 60 seconds. Keep each clip short; it's the number of changes that holds attention, not the length.
Can I shoot the before on my phone and the after with a pro? Yes. Just match the angle and height, and shoot the phone video horizontally and vertically if you're not sure where it'll be posted. The editor can match the look later.
When is the best time to film the after? Right after the final clean, before the homeowner moves things back in. Daylight with the kitchen lights on usually looks most natural.